 Seafile on FreeBSD
Seafile 9.x on FreeBSD with MariaDB behind Nginx reverse proxy and storage on separate disk
I will keep this short and simple:
- Install MariaDB (client and server)
$ sudo pkg install mariadb106-client mariadb106-server - Install seafile and seahub - you CANNOT do it via pkg because it depends on MySQL, which will conflict with and replace MariaDB. So you use port:
$ cd /usr/ports/databases/libzdb

$ sudo make install

$ cd /usr/ports/databases/py-mysqlclient

$ sudo make install

$ cd /usr/ports/net-mgmt/seafile-server

$ sudo make install

$ cd /usr/ports/www/seahub

$ sudo make install
NOTE: As of today (September 2023), py-mysqlclient fails to compile. To fix this, after installation has failed, you can go to the setup.py file and change "mariadb" to "libmariadb" where pkg-config is being called. After that, re-running make install should proceed as expected.
- Now you should have seafile at /usr/local/www. We need to setup Seafile by following Installation of Seafile Server Community Edition with MySQL/MariaDB. The important thing to note is that website's name can be anything you like, but the website address should be the actual domain which will be used for accessing the server from your client device like desktop and mobile.
$ cd /usr/local/www/haiwen $ ls ccnet conf logs pids seafile-data seafile-server seafile-server-latest seahub-data $ cd seafile-data $ ./setup-seafile-mysql.sh ... $ sudo service seafile start $ sudo service seahub start - Reset admin password (may not be required):
$ ./reset-admin.sh - Setup Nginx as a reverse proxy by following Enabling HTTPS with Nginx. There is no complication in this step.
- Now go to the website and you should be able to login as admin:
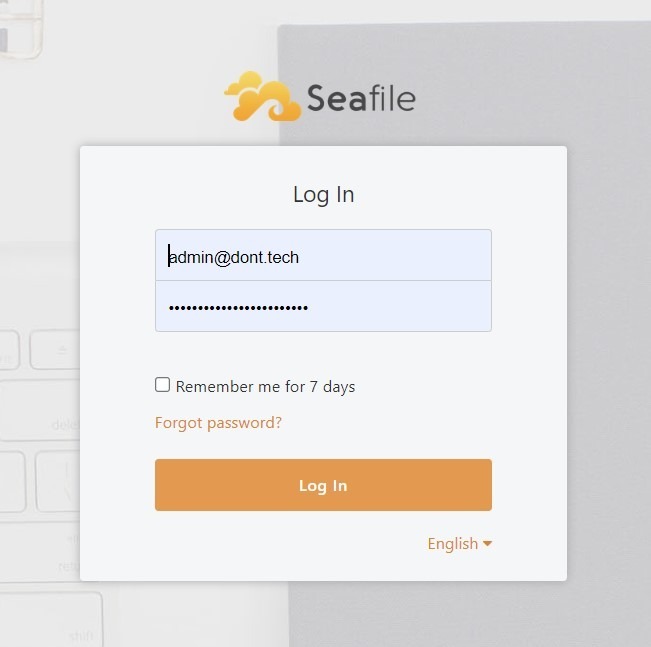
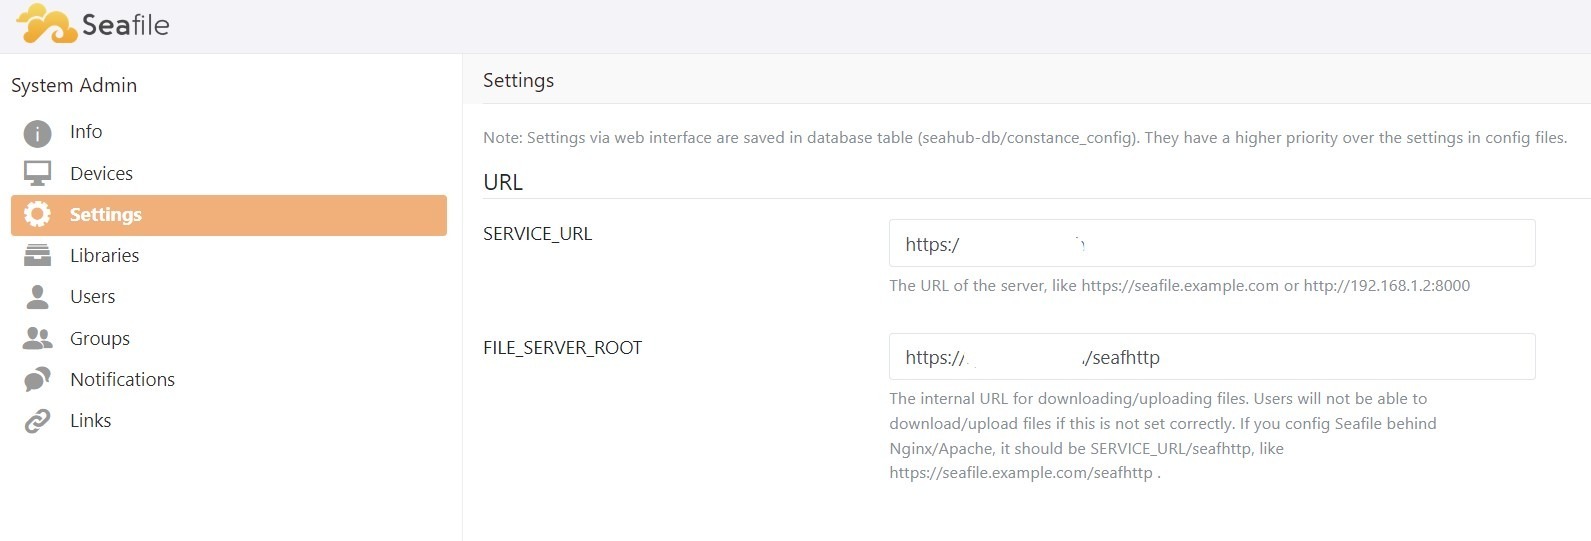
- From there go to System Admin -> Settings
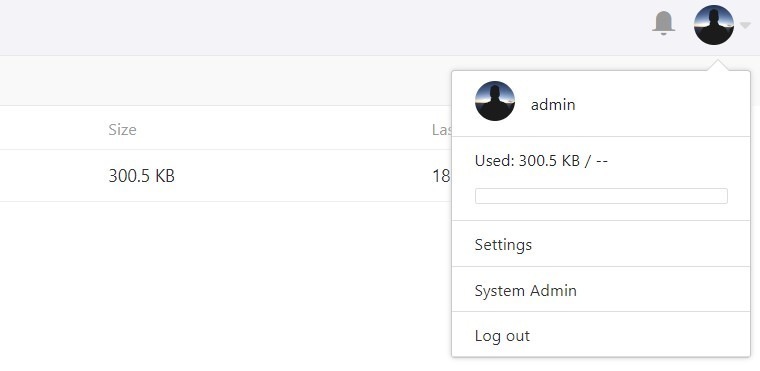
- And setup the correct values for SERVICE_URL and FILE_SERVER_ROOT:
- Make the servers auto-start even after reboot:
$ sudo sysrc mysql_enable=YES $ sudo sysrc seafile_enable=YES $ sudo sysrc seahub_enable=YES - Great. Now your server is ready to upload/download files to /usr/local/www/haiwen/seafile-data/storage. If you want all the data to remain on the same partition then you can leave it as it is. Great job. Congratulations. On the other hand if you want to move the data to another partition/disk, then creating a symlink is unfortunately not enough. Instead, you will have to move the whole /usr/local/www/haiwen/seafile-data directory and mount it FreeBSD style:
$ sudo service seahub stop $ sudo service seafile stop $ cd /usr/local/www/haiwen $ sudo mv seafile-data /mnt/someplaceelse/ $ sudo mkdir seafile-data $ sudo chown seafile:seafile seafile-data $ sudo mount -t nullfs /mnt/someplaceelse/seafile-data /usr/local/www/haiwen/seafile-data $ sudo service seafile start $ sudo service seahub start - Make this change permanent by editing /etc/fstab:
/mnt/someplaceelse/seafile-data /usr/local/www/haiwen/seafile-data nullfs rw 0 0
That's all! Congratulations.